 Skip to main content

Editing images in Photoshop can be daunting unless you know the basics and how to work with editing tools. But, once you understand the basic tools and techniques, it becomes easier to create stunning images. This post is an effort to make image editing like a walkover. So, let’s get started to explore various ways to edit images in Photoshop.
Quick, Easy, & the Best Tips to Edit Images in Photoshop
- Cropping
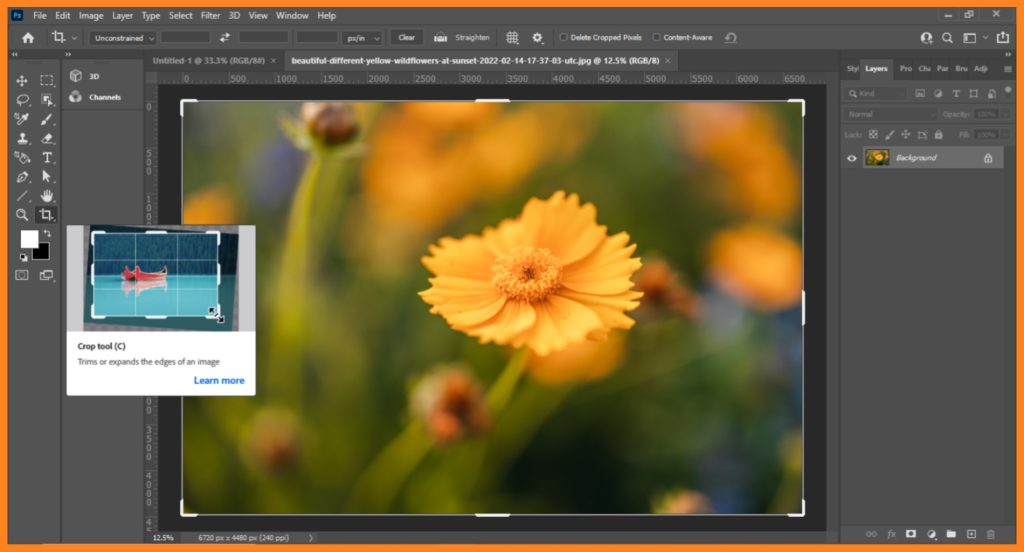
This is one of the simplest ways to make changes in an image in Photoshop, i.e. to crop it. It allows you to remove unwanted elements or edges from an image and focus on a particular part of the image. To crop any picture, you should select the Crop tool from the toolbar, click and drag to create a selection around the area you want to keep, and press Enter.
- Resizing
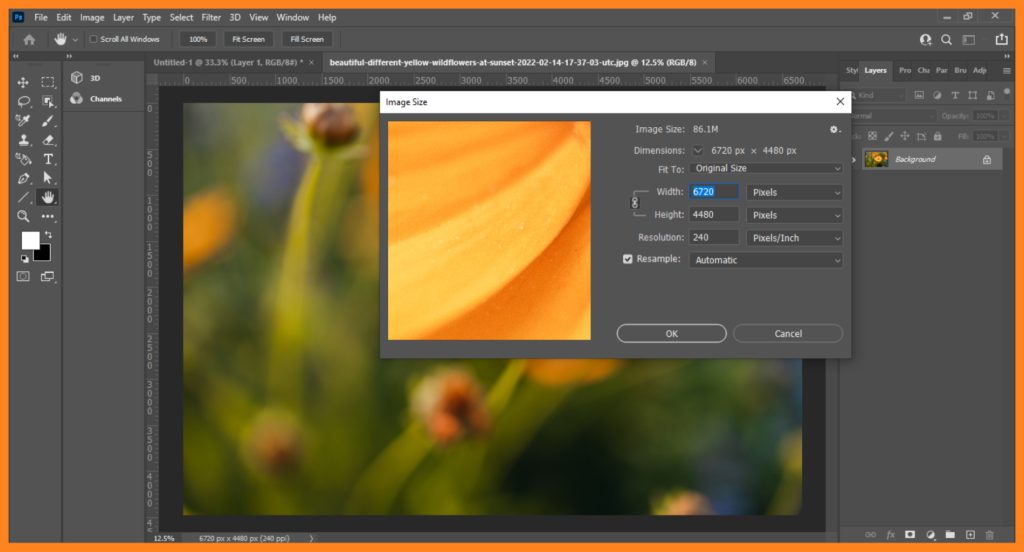
Resizing an image means creating a new size. It is a basic task that can be done easily in Photoshop. To resize any photo, you have to go to Image> Image Size, and then, set the desired width and height. These actions allow you to create a new dimension for it. You can also set the resolution and image size, depending on the intended use of the image.
- Adjusting Brightness and Contrast
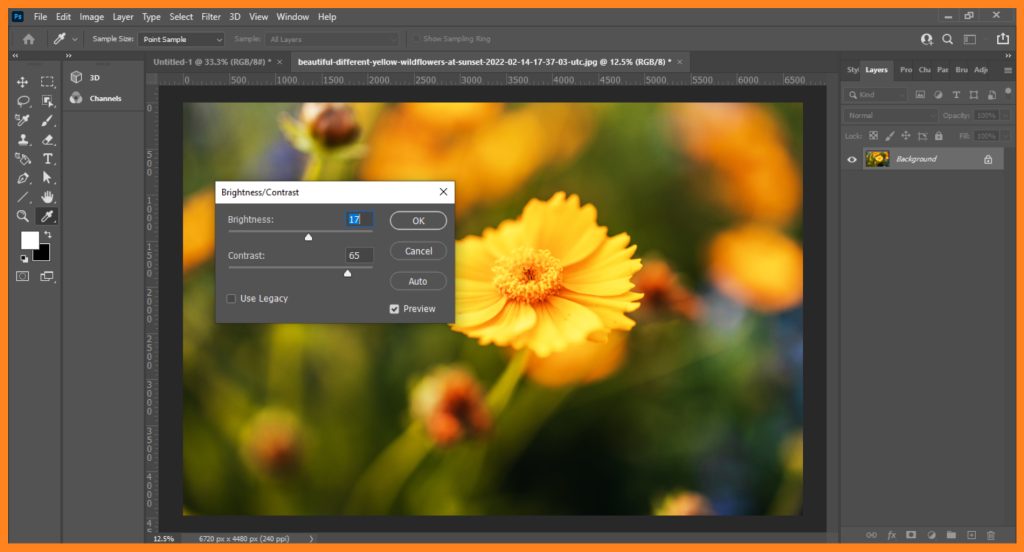
Photos that are too dark or too bright need correction. This can be done by adjusting the brightness and contrast. They allow you to adjust the brightness, contrast, color, and other aspects of your image without affecting the original image. To make adjustments in the brightness and contrast of an image, you should go to Image > Adjustments > Brightness/Contrast. You may also use the sliders to increase or decrease the brightness and contrast of the image.
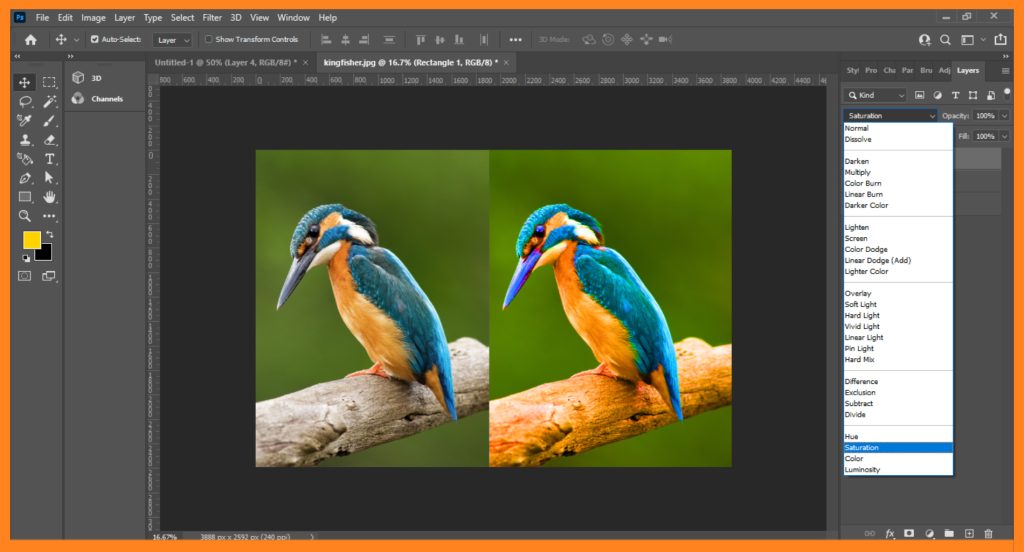
- Adjusting Colors
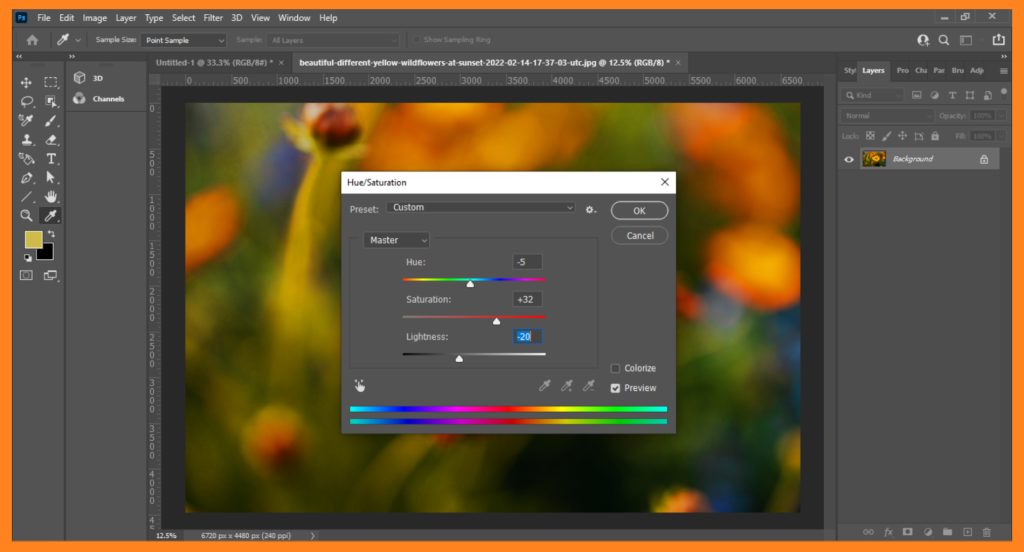
Photoshop provides tools to create a variety of colours. You can adjust the colors of an image with them. One of the simplest ways to make it happen is to use the Hue/Saturation tool. For accessing this Hue/Saturation tool, go to Image > Adjustments > Hue/Saturation. These steps will enable you to readjust the hue, saturation, and lightness of the image.
- Removing Blemishes
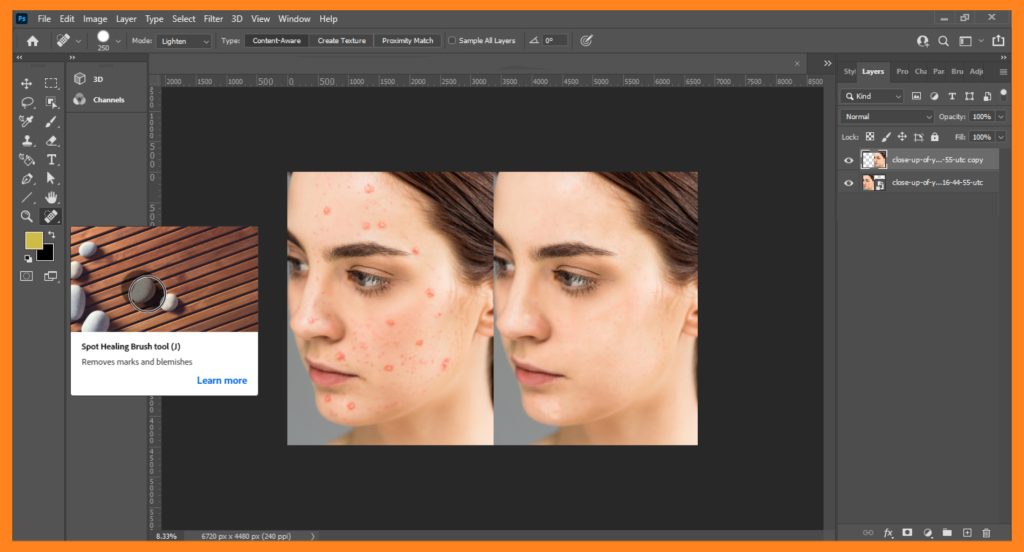
Blemishes removal is an essential part of image retouching. It can be covered under editing also. If you want to do it on your own, correct this by removing them. For this purpose, select the Spot Healing Brush tool from the toolbar. Now, put the strokes of the brush tool over the blemishes. Photoshop will automatically remove the blemishes as this tool works.
- Removing Backgrounds
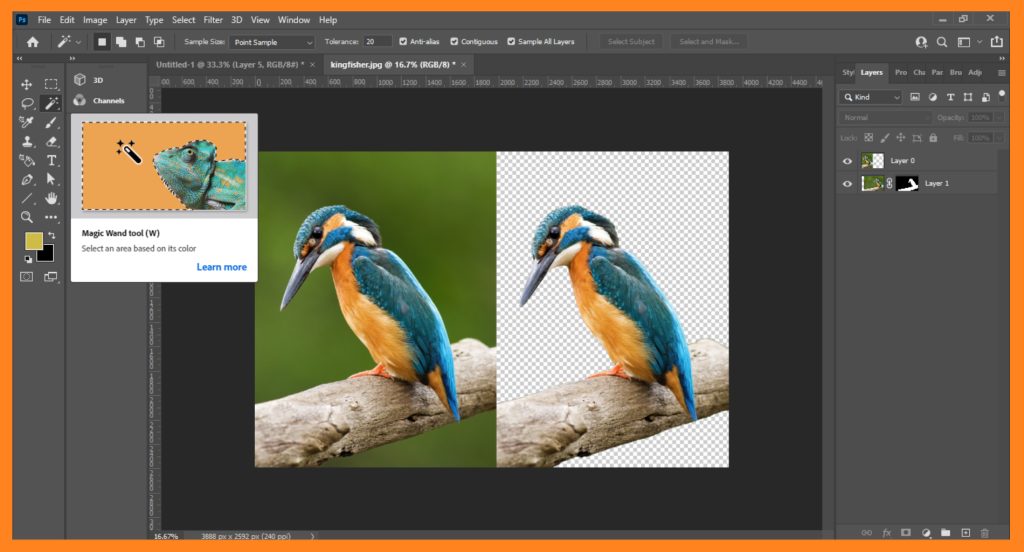
This photo editing software provides has a number of tools to remove backgrounds from an image. The most common tool used for this purpose is the Magic Wand tool. You may use it by following these steps. Select the Magic Wand tool from the toolbar. Now, click on the background, and hit the Delete key. It’s done. You can see the background goes blank.
- Adding Text
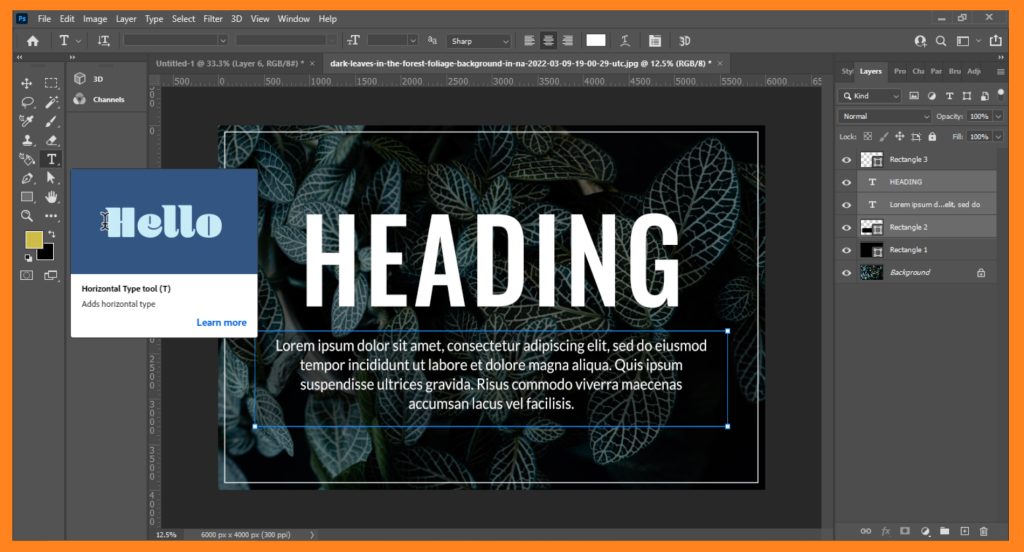
Adding text to an image can be a useful way to communicate a message or add context to an image. This is specifically beneficial for creating flyers, catalogs, and brochures. To add text, select the Type tool from the toolbar. Then, click on the image, and type the desired text. This will enable you to type anywhere digitally.
- Adding Filters
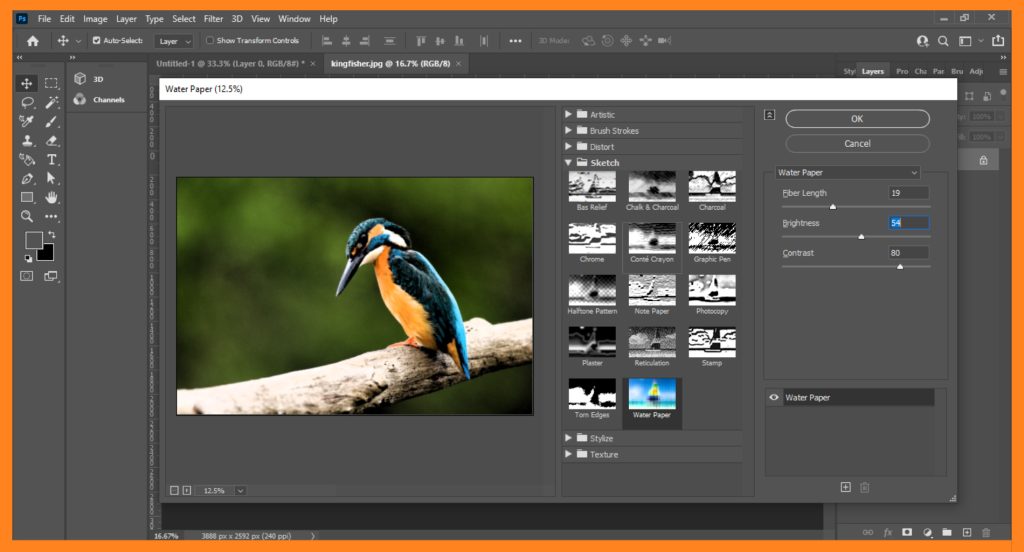
Filters can be used to enhance an image and give it a unique look. Now, you don’t need to compromise with dull and boring pictures. Start adding a filter. For making it happen, go to Filter > Filter Gallery. Here, you can choose from a range of filters and adjust the settings to create the desired effect.
- Using Layers
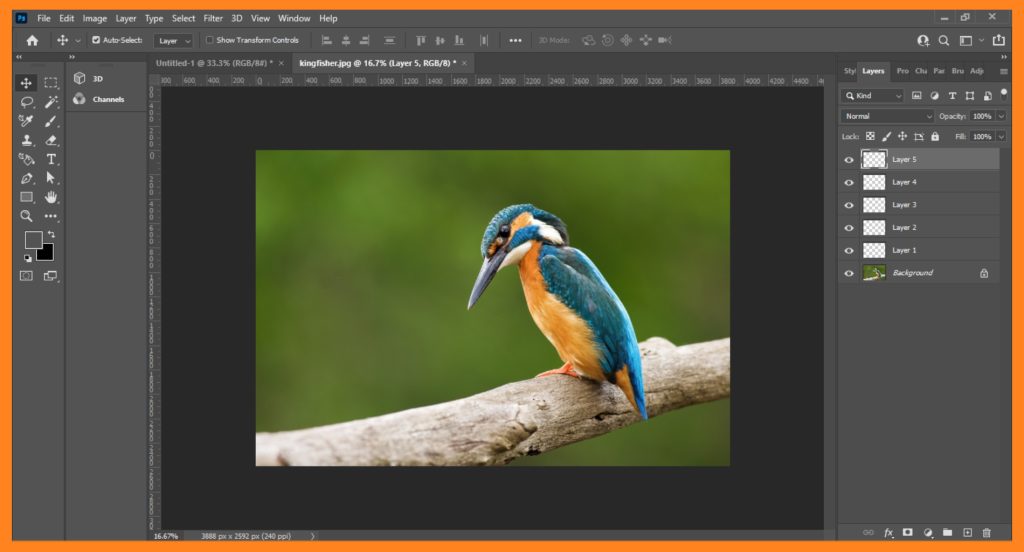
Layers are one of the most powerful features of Photoshop. Layers allow you to work on different parts of an image independently, making it easier to create complex images. To use layers, go to Layer > New > Layer, and create a new layer. You can then work on the new layer independently of the original image.
- Using Masks
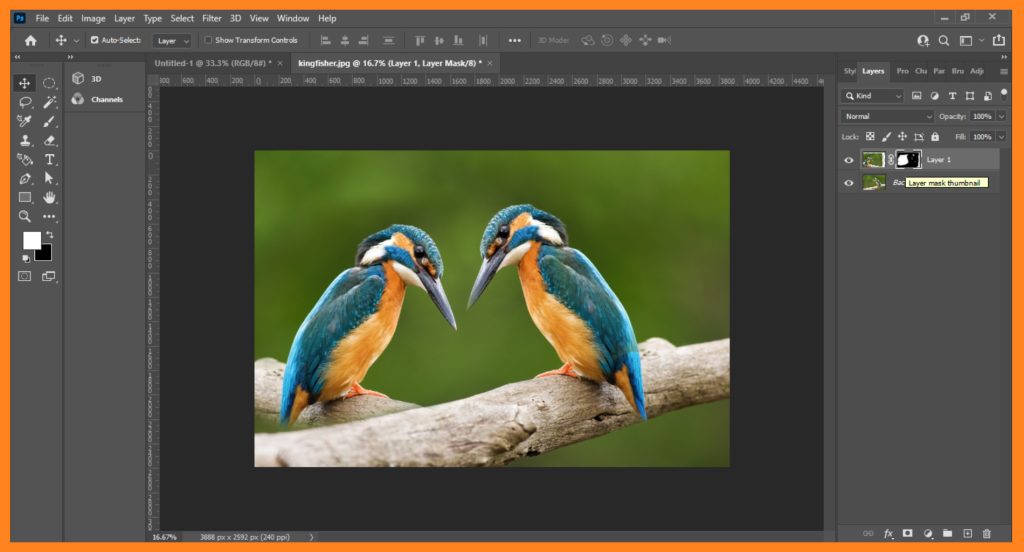
Masks are another powerful feature of Photoshop. Masks allow you to selectively hide or show parts of an image. To use masks, create a new layer, and click on the Add Layer Mask button. You can then use the brush tool to paint over the parts of the image that you want to hide or show.
- Use Curves
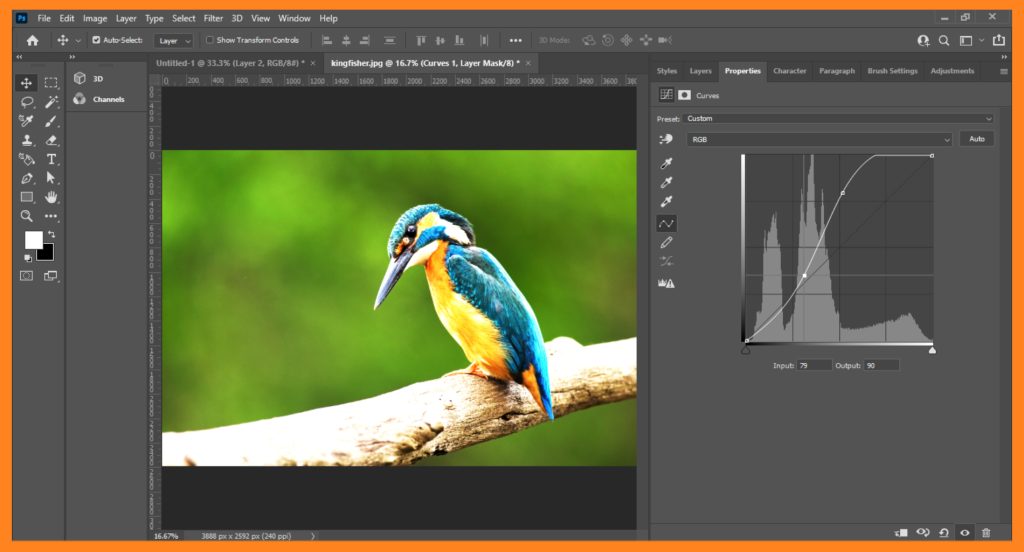
The Curves adjustment is similar to Levels, but it gives you even more control over the tonal range of your image. You can access Curves by going to Image > Adjustments > Curves, or by pressing Ctrl+M (Cmd+M on a Mac). Click and drag on the curve to adjust the shadows, mid tones, and highlights of your image.
- Use the Clone Stamp
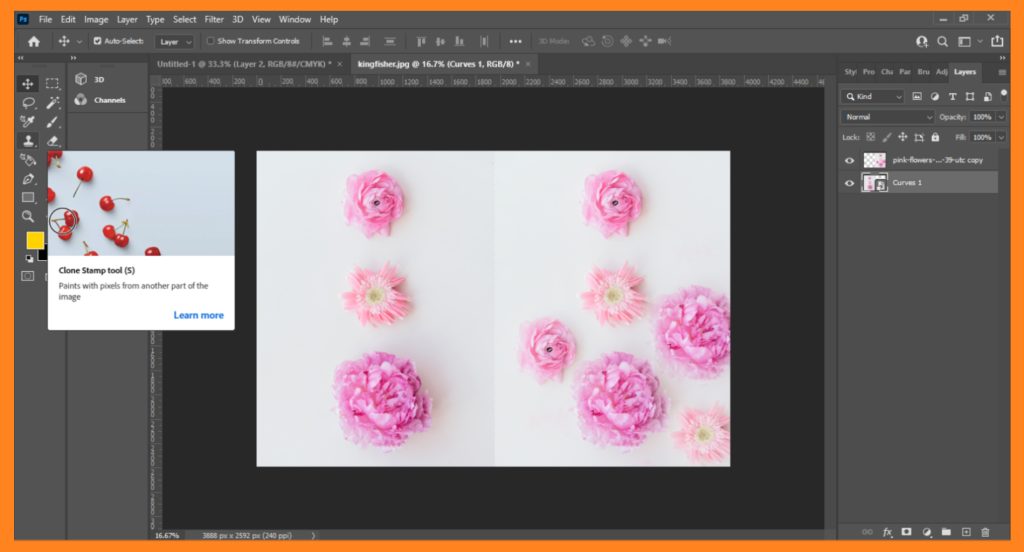
The Clone Stamp tool is great for removing unwanted objects or blemishes from your image. It can be found in the toolbar on the left side of your screen, or by pressing S. Hold down the Alt key and click on an area of the image to clone it, then paint over the area you want to remove.
- Use Blending Modes
Blending Modes allow you to blend two or more layers together. Each blending mode has a different effect on the layers to, which it is applied.
- Use the Healing Brush Tool

The Healing Brush Tool is similar to the Clone Stamp Tool. But, it is designed to blend the cloned area with the surrounding pixels, making it useful for removing blemishes or other imperfections.
- Use Smart Objects
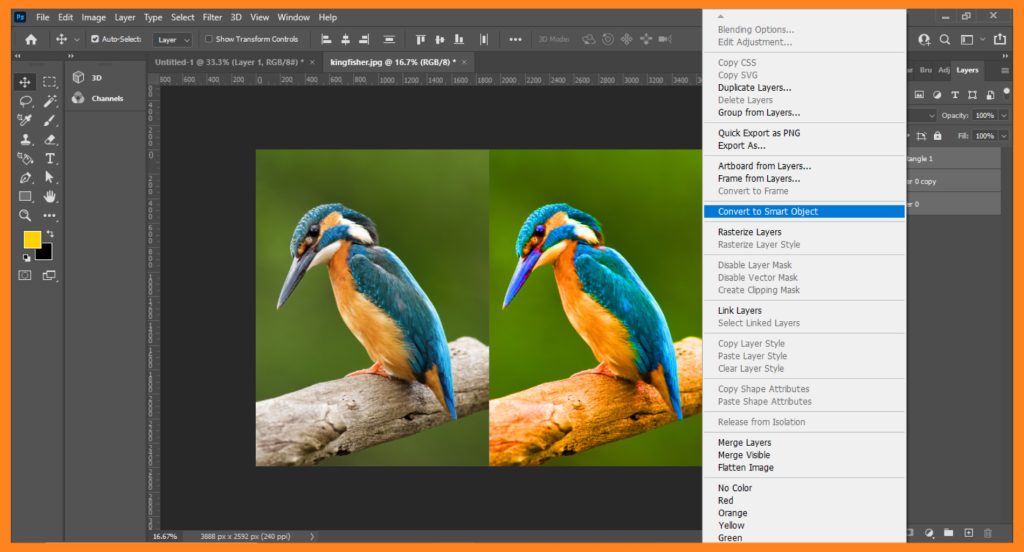
Smart Objects are layers that contain image data from raster or vector images, such as Photoshop or Illustrator files. These objects allow you to work with non-destructive editing techniques and also to apply transformations to images without losing image quality.
- Use Keyboard Shortcuts

Photoshop has many keyboard shortcuts that can speed up your workflow. By memorising and using these shortcuts, you can work faster and more efficiently.
It’s noteworthy that various companies have their own unique ways and offerings under image editing. You can see all offerings and compare them with other competitors to finalise the one that can help you with the desired result.
Conclusion
Photoshop provides a wide range of tools and techniques to edit images. Whether you want to adjust the colors, remove blemishes, or add text, Photoshop has a tool for every task. With practice, you can master the various tools and techniques to create stunning images that will impress your friends and clients.
